Knaldtech Start
User Tools
Sidebar
Table of Contents
The Baker
The baker is the interface that we use to bake textures from high to low polygonal sources. From within the baker you can generate Tangent Space Normal1), Object Space Normal, Derivative, Displacement/Height, Ambient Occlusion, Concavity, Convexity, Curvature, Transmission, Vertex Color & Material ID maps from 3d source data.
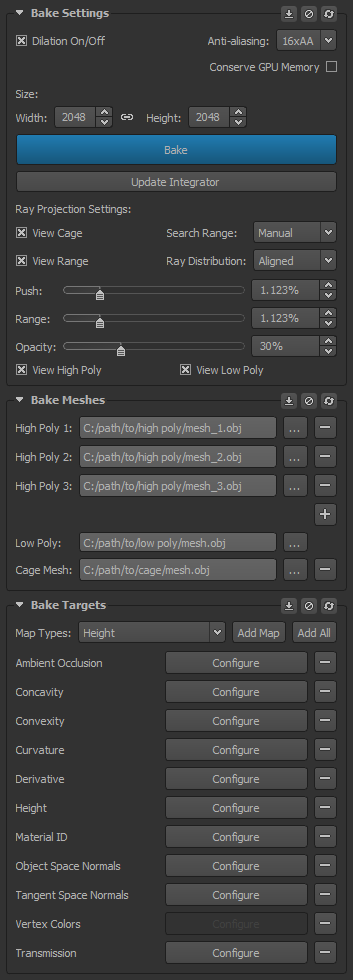
The Global Bake Group's Settings
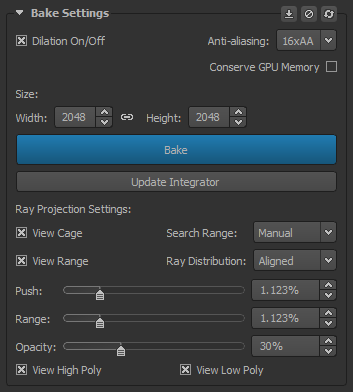
Dilation On/Off: Enables dilation. This setting requires a rebake to take effect if selected post bake.
Anti-aliasing: Here you can choose how much Anti-Aliasing is used during the baking process.
- No AA: No Anti-aliasing will be used during the baking process.
- 16xAA: 16xAA Anti-aliasing (Supersampling) will be used during the baking process at the cost of a little speed.
This setting requires a rebake to take effect if selected post bake.
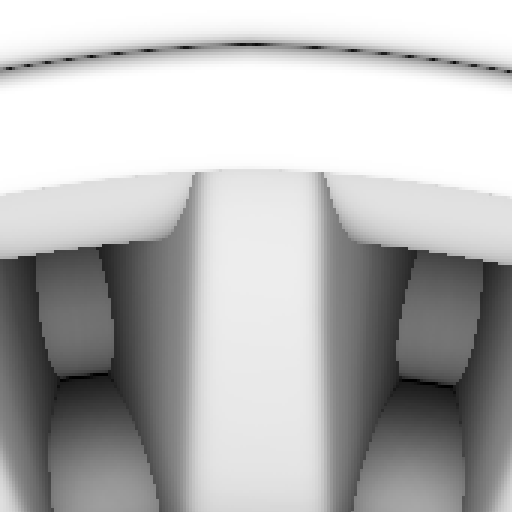

Conserve GPU Memory: Reduces GPU memory for certain targets at the expense of quality. Should only be used if you're running out of VRAM and are unable to bake at higher resolutions.
Size: The specified size of the baked texture, as per the width and height settings.
- Width: The desired width of the baked image which is to be generated.
- Chain Icon: Here you can constrain the width & height of the baked image together. Unchecking will unlink the values & allow independent values to be used.
- Height: The desired height of the baked image which is to be generated.
Pre Process/Bake: This button pre-processes the selected meshes and then performs an initial test bake automatically. Once the pre-processes has been completed Knald does not need reprocess the meshes again until the source data has been modified (either by loading a new high poly mesh or by editing the existing meshes externally) and you may rebake as you wish at an increased speed.
Update Integrator: Update the current baked image to The Integrator. Mesh data from the baker is automatically carried over to The Integrator for use within Mesh AO and Transmission if needed.
Ray Projection Settings
View Cage: Enables viewing of the projection cage.
View Range: Enables viewing of the range cage.
Search Range: The distance between the projection cage and the range cage.
- 1x Push: Sets the distance between the projection cage and the range cage to be identical to the value set on the push slider/spinner.
- 2x Push: Sets the distance between the projection cage and the range cage to be twice the value set on the push slider/spinner.
- Manual: Unlocks the range slider/spinner so a manual value may be used.
Ray Distribution:: The method used for controlling ray distribution.
- Aligned: Forces the cage vertices to align with the soft normal direction of the Low Poly vertices.
- Unadjusted: Forces the ray direction to be controlled by the unmodified cage vertices.
In general soft normals (Adjusted) results in a better distribution of rays than points placed by hand as they are a mathematically “perfect” angular distribution for the geometry, but for some meshes you may get better results using points placed by hand (unadjusted) as it greatly depends on the topology of the cage as to how the projection will align.
Essentially 'Adjusted' is a way of using the cage to indicate ray distance but not distribution of rays whereas with unadjusted we allow the cage to dictate ray distance and distribution simultaneously.
This setting requires a rebake to take effect if selected post bake.
Push: The amount you wish to inflate the projection cage. The projection cage should in most instances completely enclose the High Poly mesh in order to render correctly.
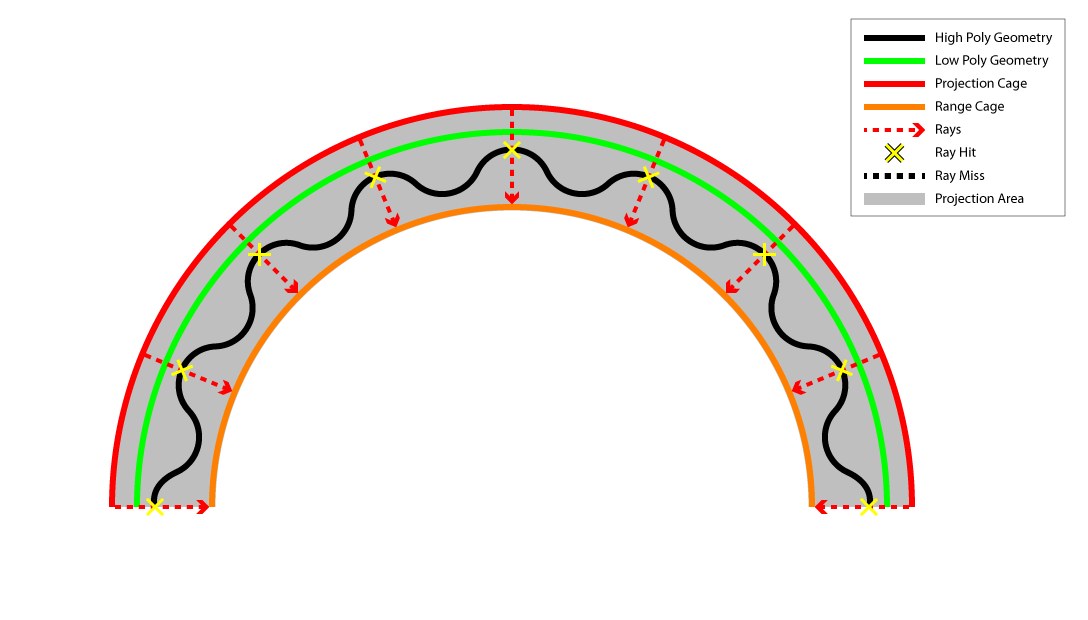
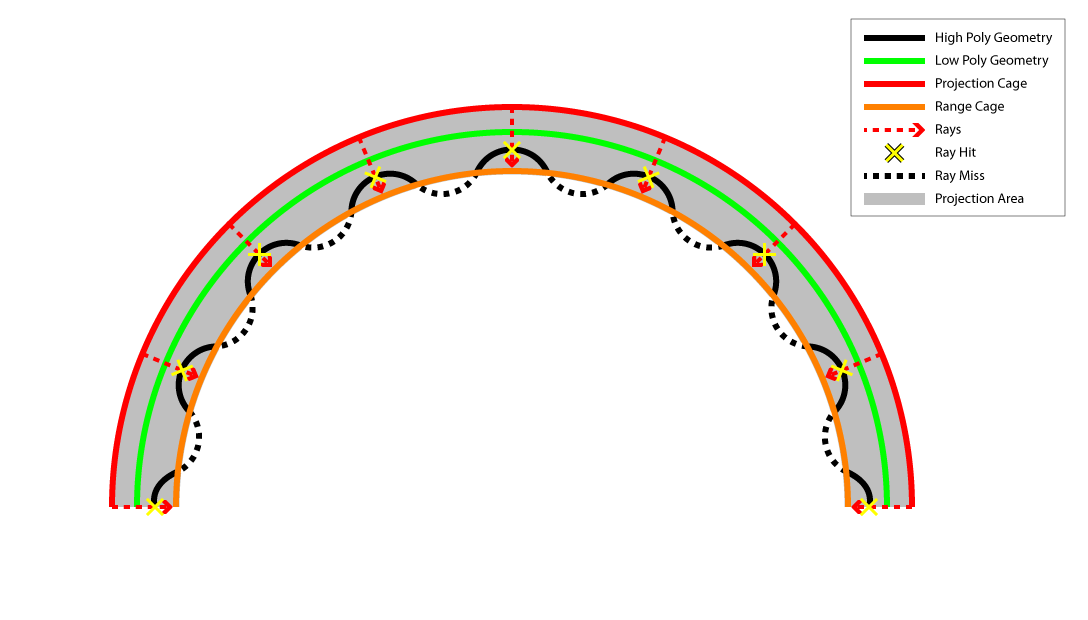
Range: The amount you wish to inflate the range cage. This should be set at a distance that is as close to the High Poly mesh as possible, while still being enclosed by it. Setting this value too high can cause unnecessary increases in render times. See the images below for more details.
Opacity: Changes the opacity value of the projection and range cages.
View High Poly: Toggles the High Poly mesh on/off in the 3d viewport. This does not affect the rendering of the meshes when baking.
View Low Poly: Toggles the High Poly mesh on/off in the 3d viewport. This does not affect the rendering of the meshes when baking.
Bake Meshes Settings & Information
Knald's Mesh Caching System
Knald's next generation baker features a unique mesh caching system where all meshes are processed and cached during the initial bake, to be then reused in all bakes thereafter. This means that as long as the source files are not modified on disk there is no need for Knald to reload & reprocess them each time, which massively reduces redundancy in the baking pipeline & increases the productivity of artists.
Bake Meshes Interface
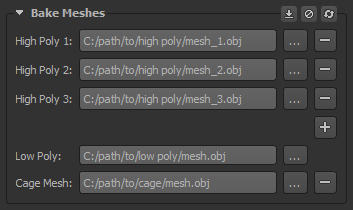
High Poly: Add a High Poly mesh here. The loading of multiple High Poly meshes simultaneously is supported via Shift+Select and doing so will automatically create a new slot per mesh.
Clicking the +/- icons to the right will add & remove slots of previously loaded meshes from the stack.
Low Poly: Add a Low Poly mesh here.
Cage Mesh: This option allows you to specify an external cage mesh that should be used in place of Knald's internal cage system. Where the topology of the selected cage mesh does not match that of the low poly mesh (different vertex order, UVs or triangle count etc.), Knald will fall-back to its secondary option for non-topologically matched cages. In such cases the specified cage mesh will still be used.
If any of the meshes used for baking are externally modified & saved, Knald will reload them once the Pre Process/Bake button is pressed. It should be noted that modifying the High Poly mesh will invalidate in the previously generated mesh cache and it will need to be regenerated.
Bake Target Settings
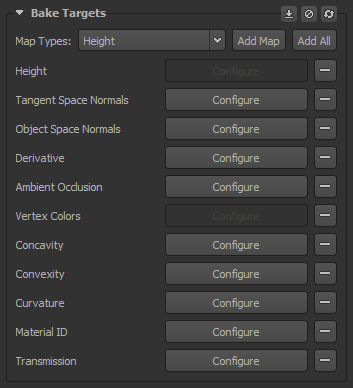
Map Types: A selection dropdown for choosing the type of map to bake.
Add Map: Adds the selected target to the stack for baking.
Add All: Adds all targets to the stack for baking.
Target Name: The map type to be baked. Clicking the - icons to the right will remove targets from the stack.
Configure: Configure your bake target preferences here. Where the Configure button is disabled, there are no options for the specified bake target.
Minus Button: Remove the current bake target from the stack.

